You want to head over to Google Webmaster Tools and you’ll be asked to log into your Google account that you want to be associated with the Webmaster Tools. If you are already logged in to your account, you’ll skip this step and be brought straight to the Webmaster Tools homepage. If you are logged into the wrong Google account, just sign out and sign in to the right account.
You’ll be presented with the Google Webmaster Tools home page. Next, you’ll need to type in the domain name you own and want to manage into the box presented below, then click “Add Property”.

Once you have done this, you’ll now be prompted to verify your ownership of your domain. To do this, we are going to follow the recommended way by uploading a HTML file to our site. Firstly we need to download the HTML file. Click the blue link “this HTML verification file” and the file will automatically be downloaded to your computer.
![]()
Next, we need to connect to our hosting via FTP to upload our verification file Webmaster Tools is requiring us in order to verify our ownership of the domain. And then Webmaster Tools will grant us access.
If you have never connected to your hosting server via FTP before, you’ll need to set this up. I have written a guide how to set up a FTP server using FileZilla. If you have already done this, you can skip this step and connect straight to your server.
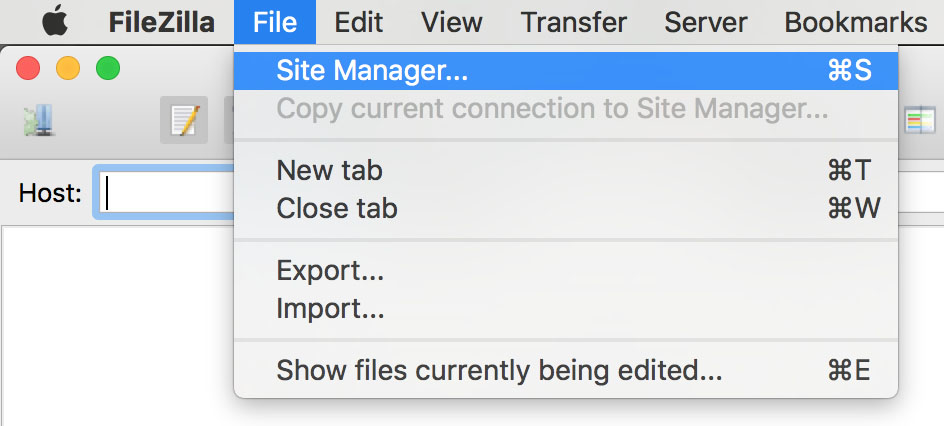
We are using FileZilla as our FTP client to upload the verification file to our server. In the menu at the top of your screen go to File > Site manager.
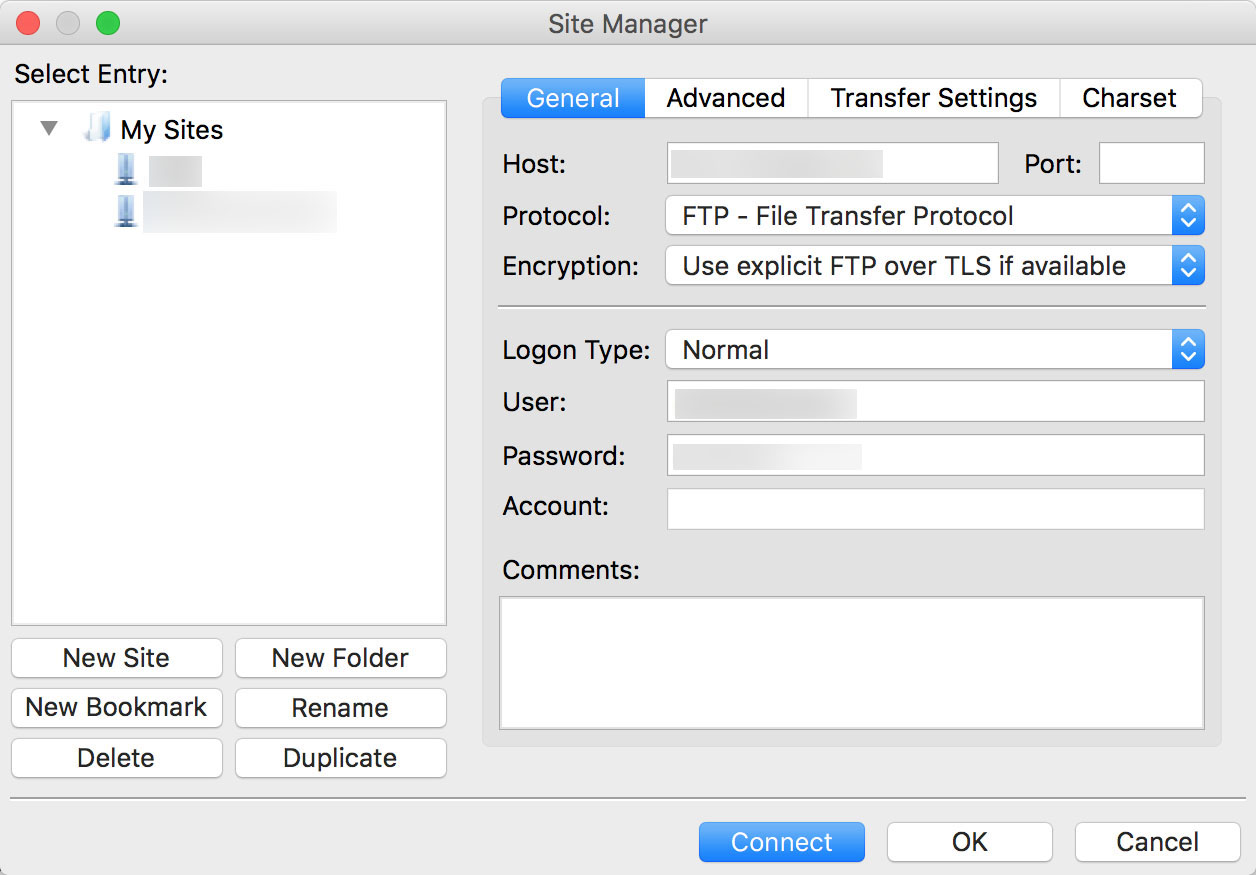
The Site Manager will then pop up. Make sure you are on the right site in the left hand sidebar, if you have multiple servers. Once you are on the right site click “Connect”.
The verification file will mostly be in your computer’s Downloads folder. All your computer’s files can be found on the left hand side of FileZilla. You’ll now want to go to your domain’s root file on the right hand side of FileZilla. Once you have found the verification file, you can drag this across into your domain’s root file.
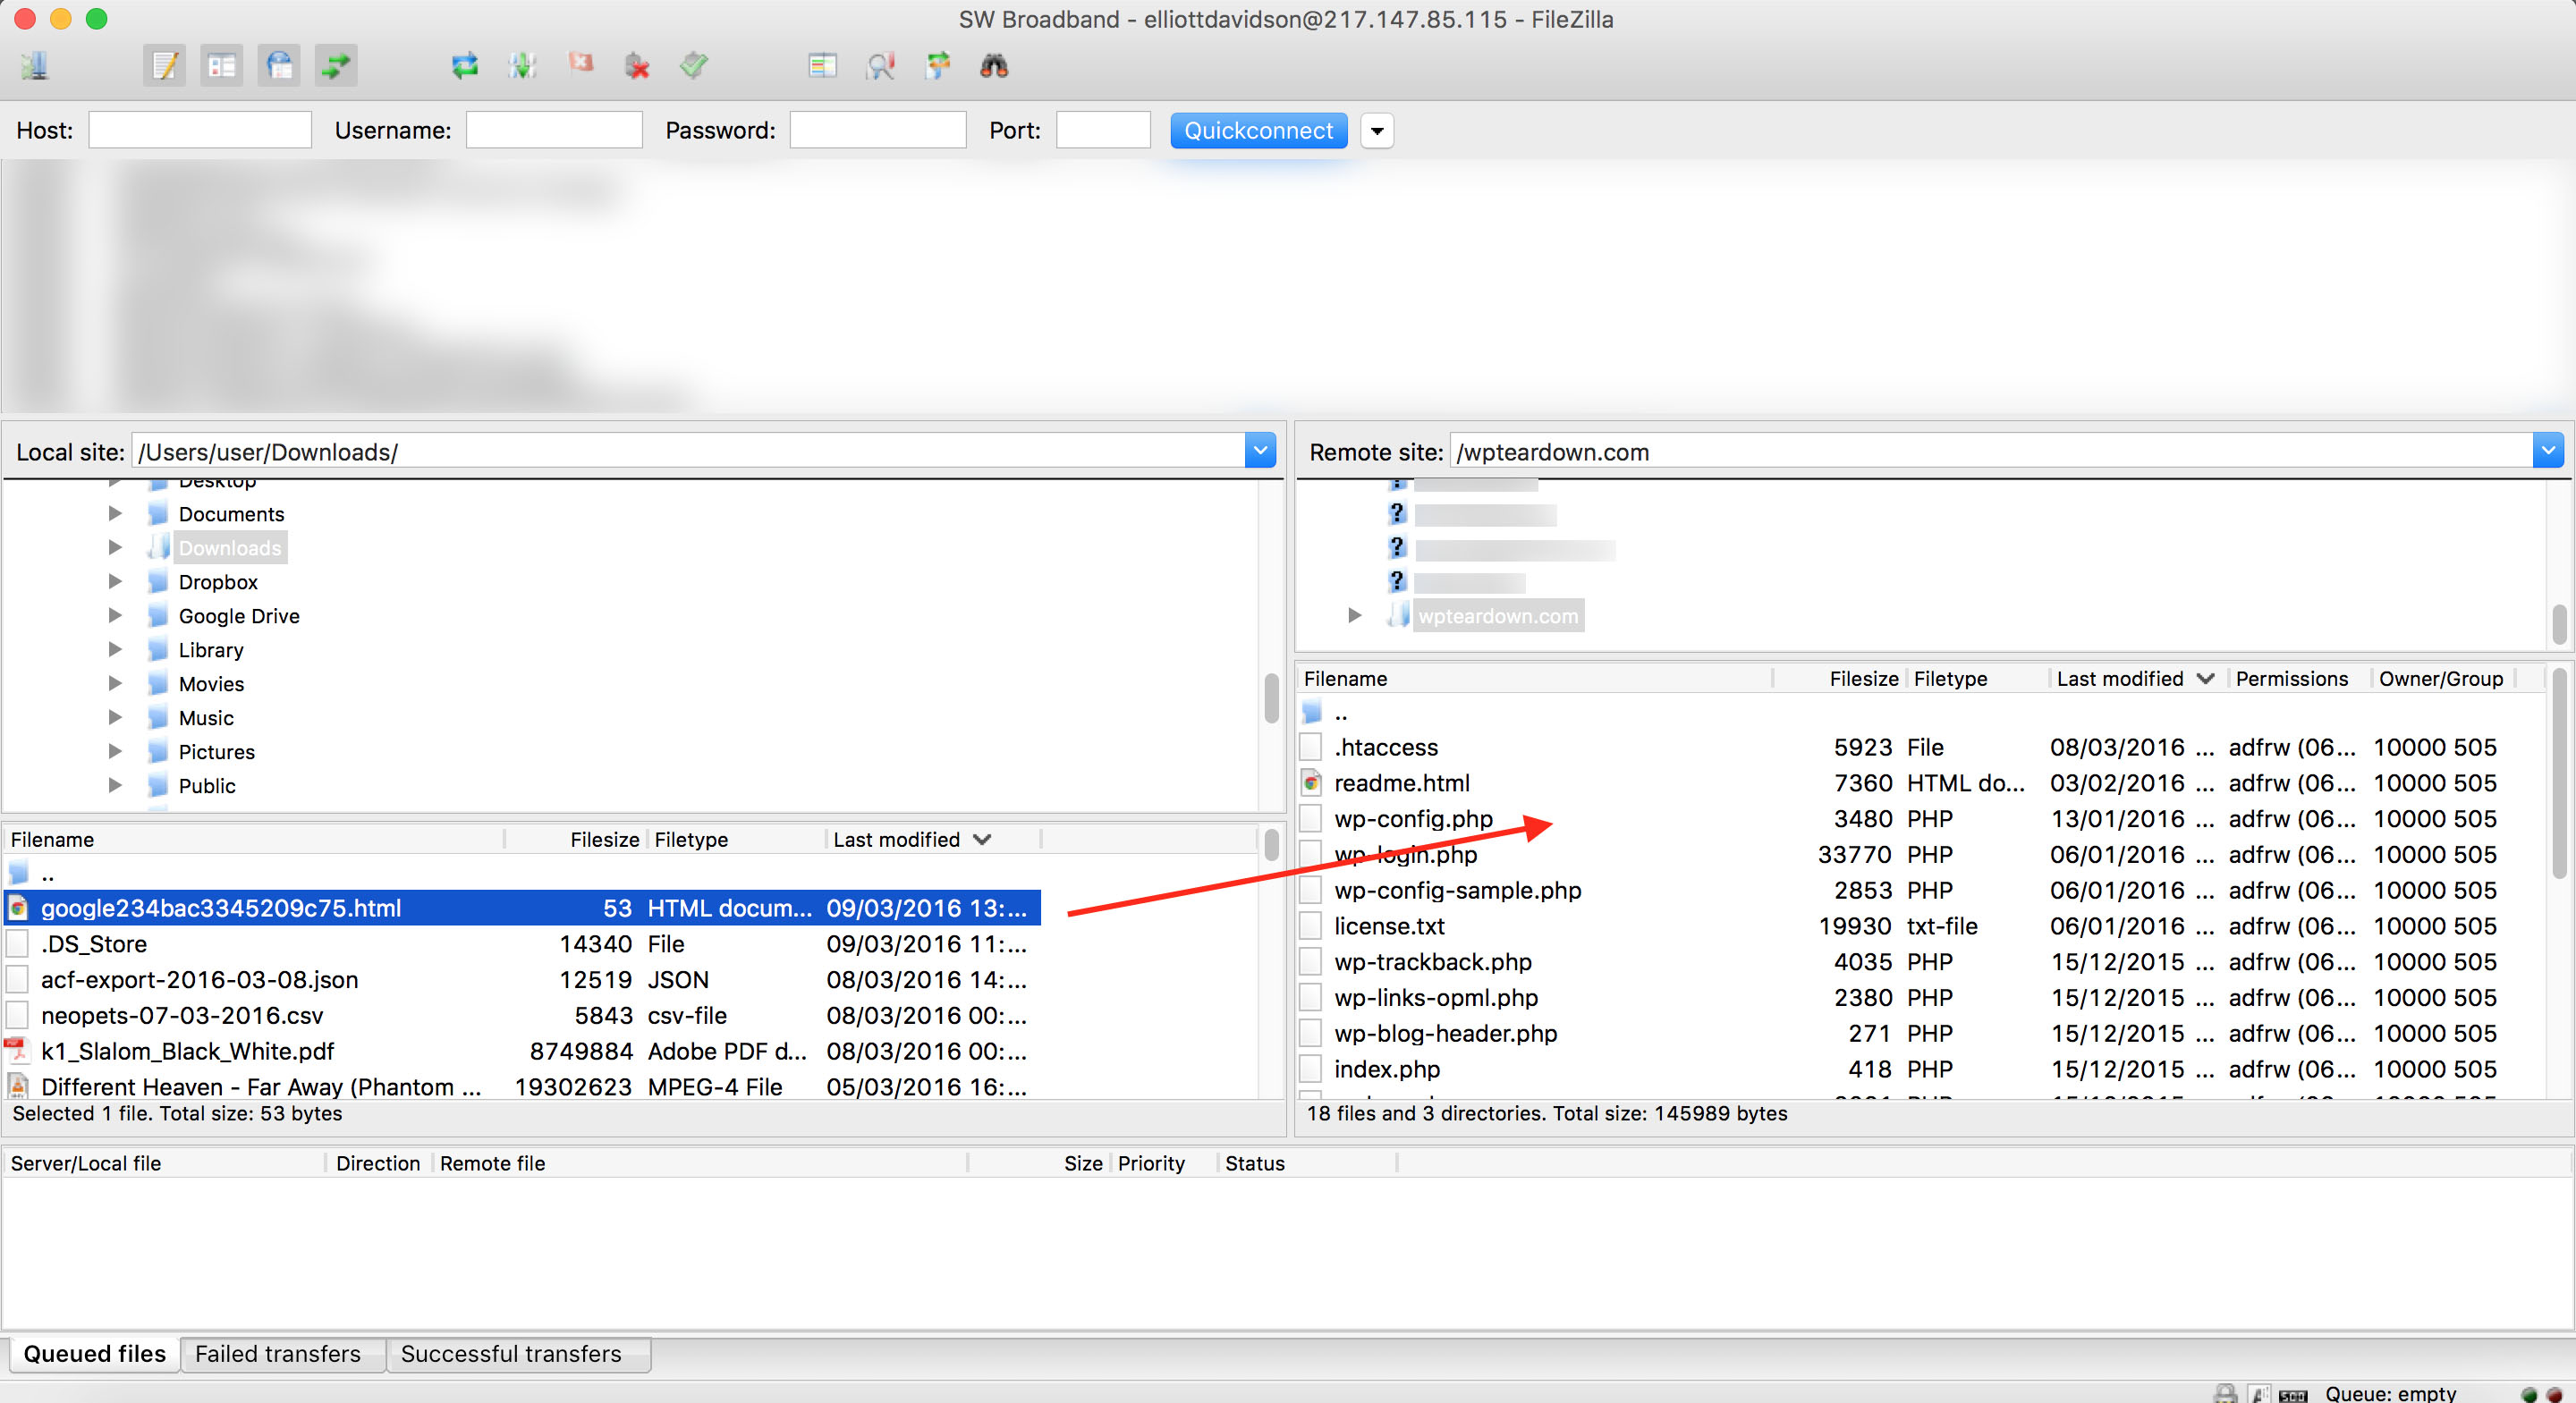
The verification file will then proceed to upload to your server. You can quit FileZilla once the file has uploaded.
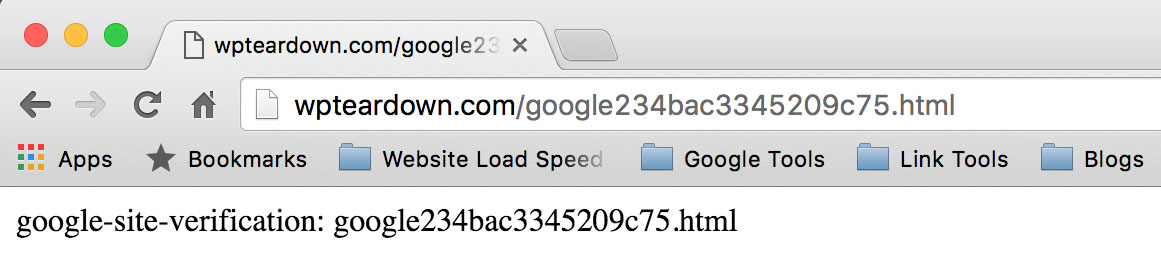
We now need to go back to Google Webmaster Tools. We need to check that the verification file we just uploaded to our server is there and in the right place. To check this, click on the link in step 3: “Confirm successful upload by visiting http://yourdomainname.com/google-verification-file-name.html in your browser”.
![]()
If you did everything correctly, you’ll see text saying “google-site-verification: your-google-verification-file-name.html”
If you don’t see this, it means you haven’t uploaded the file to the right place so go back a few steps and make sure you are uploading the file to the right place.
We can now do the last step which is: Click the verify button in Webmaster Tools. To stay verified, don’t remove the HTML file, even after verification succeeds.
If everything has been done correctly, you’ll see this message: “Congratulations, you have successfully verified your ownership of http://yourdomainname.com/.”

Finally click continue and you’ll be brought to the Google Webmaster Tools dashboard for the domain you have just verified, everything has now been set up.
Get more stuff like this
Subscribe to our mailing list and get interesting stuff and updates to your email inbox.